Almond Butter Fig Bars
This website uses affiliate links which may earn commission for purchases made at no additional cost to you.
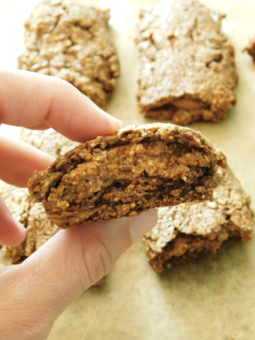
These Almond Butter Fig Bars are literally my new favorite thing. You NEED them in your life right now. Let me tell you why…
They are D-elicious.
They are sweetened naturally with coconut sugar, maple syrup, and dried figs.
They are UNIQUE.
They are firm, but soft on the inside, and therefore hold up well when packed (We’re about to go to Cabo and I’m bringing these babies for our trip!).
These are such a great snack and can be easily managed by tiny hands. Kid lunch boxes make some room!
They are filled with protein and fiber.
They make for great pre- or post-workout fuel.
They are GLUTEN-FREE and VEGAN.
I love them. So you should love them too.
Most of all, they are just hands down, purely delicious (yes, they’re so delicious I had to write it on the list twice).
This summer we’ve been doing a lot of traveling. This means a lot of eating out, which is not the norm for us. Since I am in a constant panic over when the next time I will be able to eat is, I wanted to make sure to pack healthy travel snacks for the “family” (aka. me). I am a sucker for almond butter, so when Trader Joe’s came out with their Almond Butter Cacao Bars, I couldn’t resist. They are pretty good, but recently I thought, hmmm I wonder if I could make these and make them taste even better?
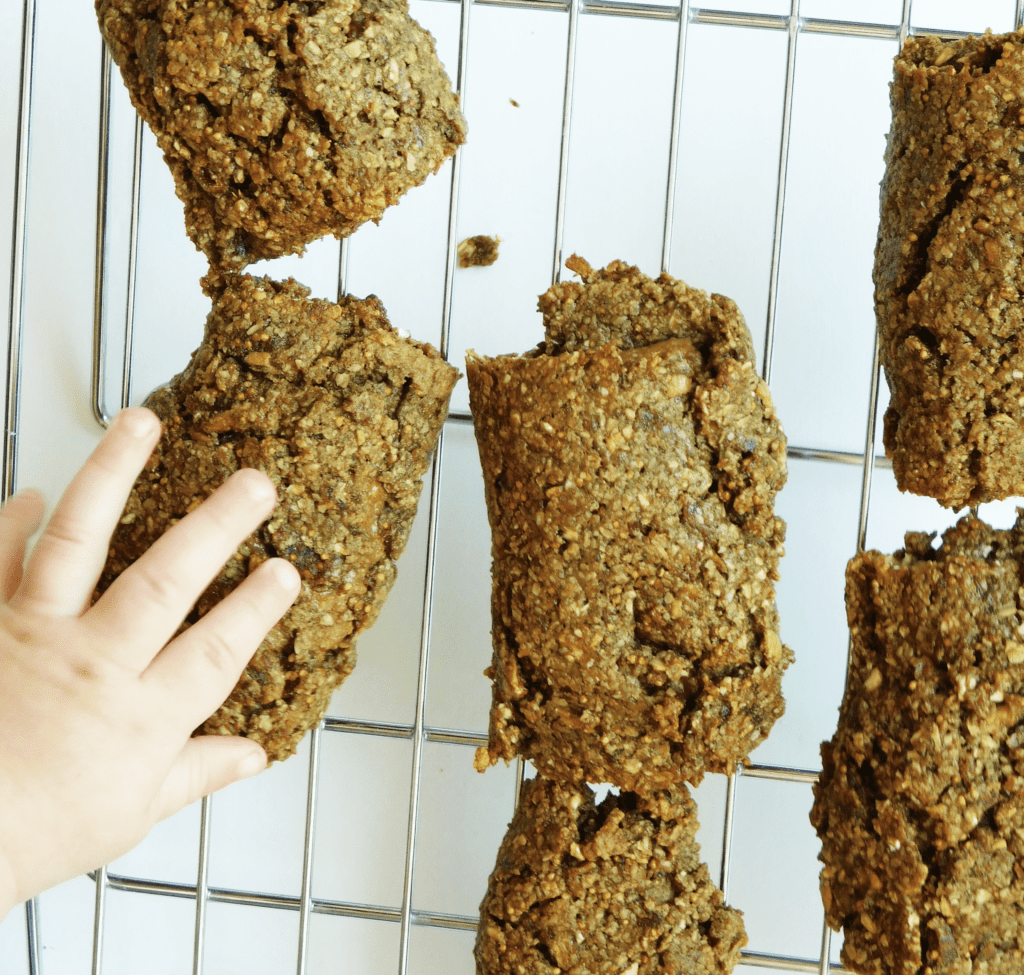
I looked at the ingredient list, guessed on what portions and ratios to use, figured out healthier replacements for some of the ingredients, and somehow managed to nail this recipe/experiment on the first try. This does not happen often. I was very giddy about it. 🙂 Just to clarify, by “nail the recipe” on the first try I do not mean that I was able to make them taste like the Trader Joe’s bars…in fact, I failed at that as they taste nothing like them, which is also why I didn’t title the recipes the same. By “nail the recipe”, I mean that they turned out so delicious and they are all I want to eat now and forever.
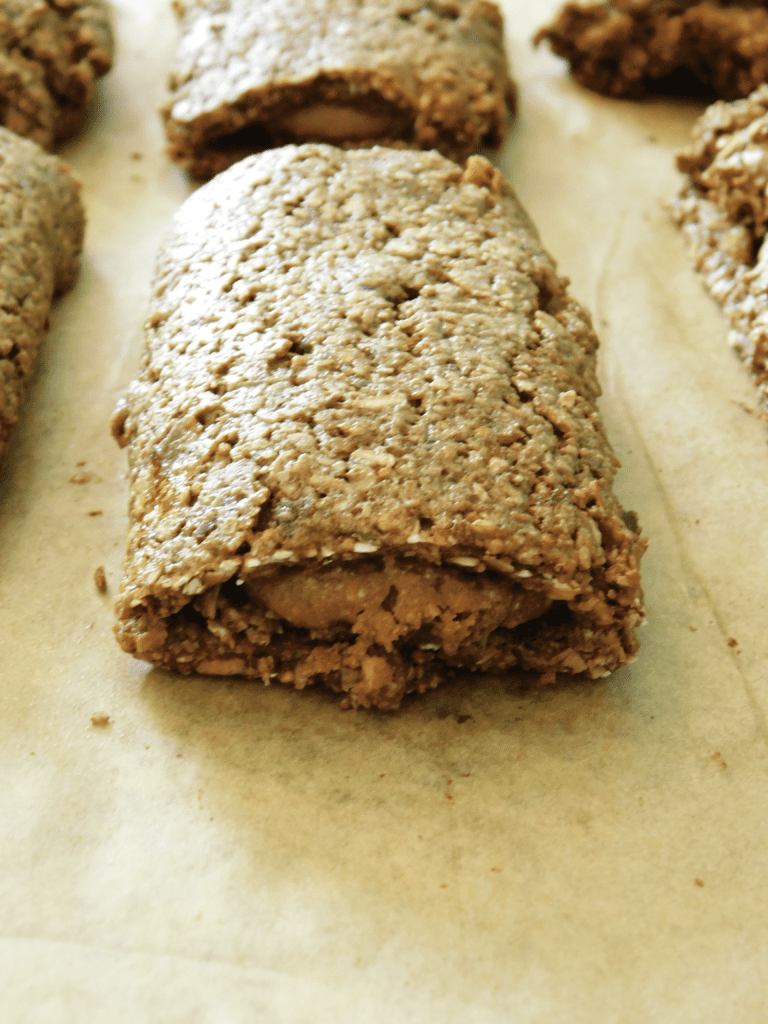
My cooking style has always been “taste-bud directed”, if you will, versus “recipe-directed”. My thought process when cooking usually sounds like this:
Hmm, let’s just try some of this and a little of this….mmmm, yummm…now let me just add some of this and whoops, uhhhhh, s%&! that was a little too much…Well, I guess we’ll see how it turns out.
Though I get anxiety over pretty much every other aspect of my life, cooking is not one of them. Quite the opposite actually. I am completely at peace when I am cooking. The anxiety I get from the rest of my life typically revolves around the following thoughts: I’m not doing enough, I’m not working hard enough, I’m not reading to my son enough, I’m not helping my students enough, I’m not able to handle enough, I’m not smart enough, I’m not articulate enough, I’m not socially savvy enough…the list goes on. Ultimately, my anxiety boils down to the unsettling feeling and deeply rooted fear of simply not being enough.
With cooking, however, I have the attitude of “Ehh, if it doesn’t turn out, we can always have quesadillas. Unless we’re already having quesadillas. Then we’re screwed.”
My point in sharing my anxiety issues and my cooking philosophy is this:
Being a mom is hard.
Being a dad is hard.
Being an adult is hard.
Doing life, let alone doing it well, is hard.
But,
Cooking doesn’t have to be hard.
Feeding your family well doesn’t have to be hard.
This one, teeny tiny, yet important, area of your life doesn’t have to be hard.
You can be enough here.
You can give your family enough here.
You can be a supermom here.
My hope is that these recipes can give you the tools you need to feel at ease in the kitchen. To help your days and weeks feel a little less chaotic. To help you feel that you are doing enough because you are feeding your family well, which is necessary for their survival and growth. To help you move past feeling like you are posing as a supermom, and to embrace the fact that are one.
To end, I wanted to leave you with one of my favorite quotes from one of my favorite books, The 100-Year-Old Man Who Climbed Out the Window and Disappeared. It has helped ground me when I am stuck in an anxiety loop or when I am trying to fight the chaos in my life instead of embrace it. I hope it can help you, too (especially if you feel nervous when you are cooking 🙂 ).
Things are what they are and whatever will be, will be.
– Jonas Jonasson
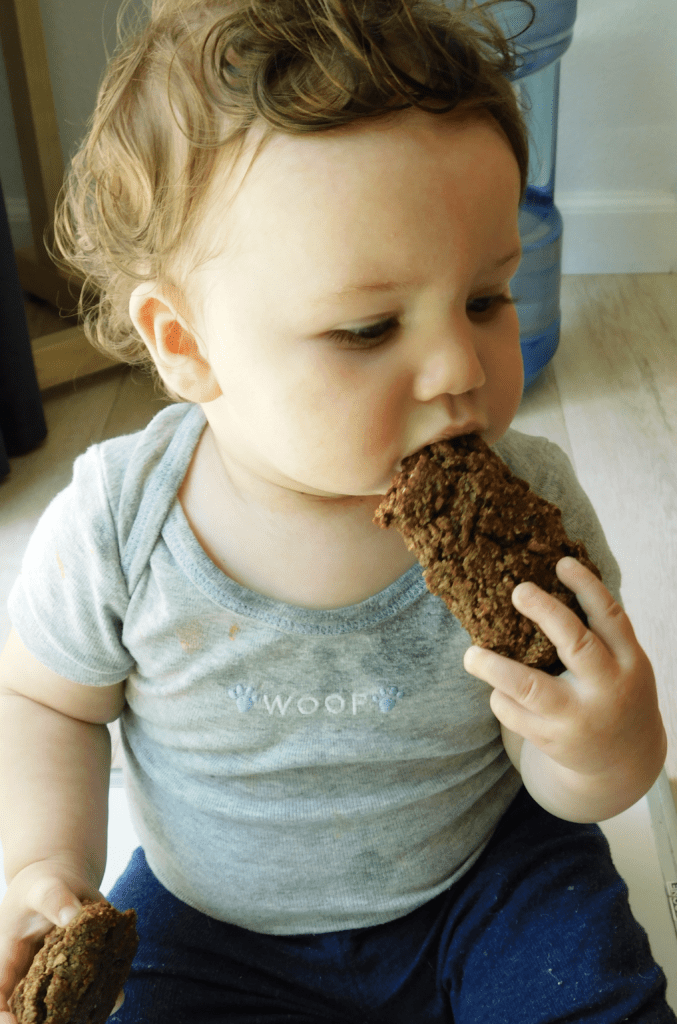
Okay, go put on your supermom cape, look at the picture of my son (below) for a second for smiling purposes, and make yourself and your kids some Almond Butter Fig Bars!
More Snack Recipes to Try Next!
Spinach Banana Muffins for Toddlers (No Added Sugar!)
Blueberry Banana Oatmeal Muffins
Nut-Free Protein Bars (No Added Sugar)
Healthy Sweet Potato Zucchini Muffins
Almond Butter Fig Bars
Ingredients
Almond Butter Filling
- ½ cup unsalted crunchy or creamy almond butter, (preferably unrefrigerated, so it’s not too firm)
- ½ cup coconut sugar
- 1 teaspoon arrowroot flour, (or tapioca flour, cornstarch, or regular flour – making it not gluten-free)
Fig Crust
- 1 cup gluten-free oat flour, (see notes*)
- ¼ cup maple syrup
- 1 tablespoon coconut oil
- 1 cup dried figs
- 1 tablespoon cacao powder
- 1 teaspoon baking soda
- Sprinkle of sea salt
Instructions
- Preheat oven to 350 degrees.
- Make almond butter filling by placing the ingredients in a food processor and processing until it creates a paste. Set aside in a small bowl.
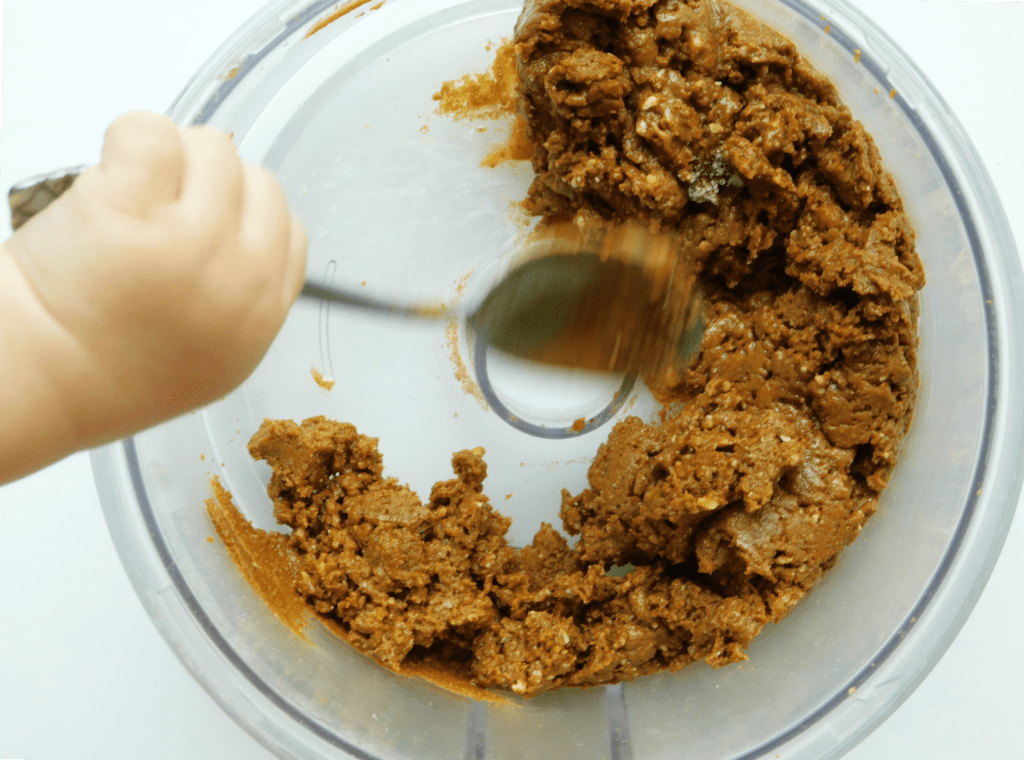
- Mix fig crust ingredients in the food processor for approximately 25 seconds so that the figs are mostly ground (I like to leave a few chunks in there).
- Lay a piece of parchment paper on a cutting board and lay the fig crust mixture onto the paper.
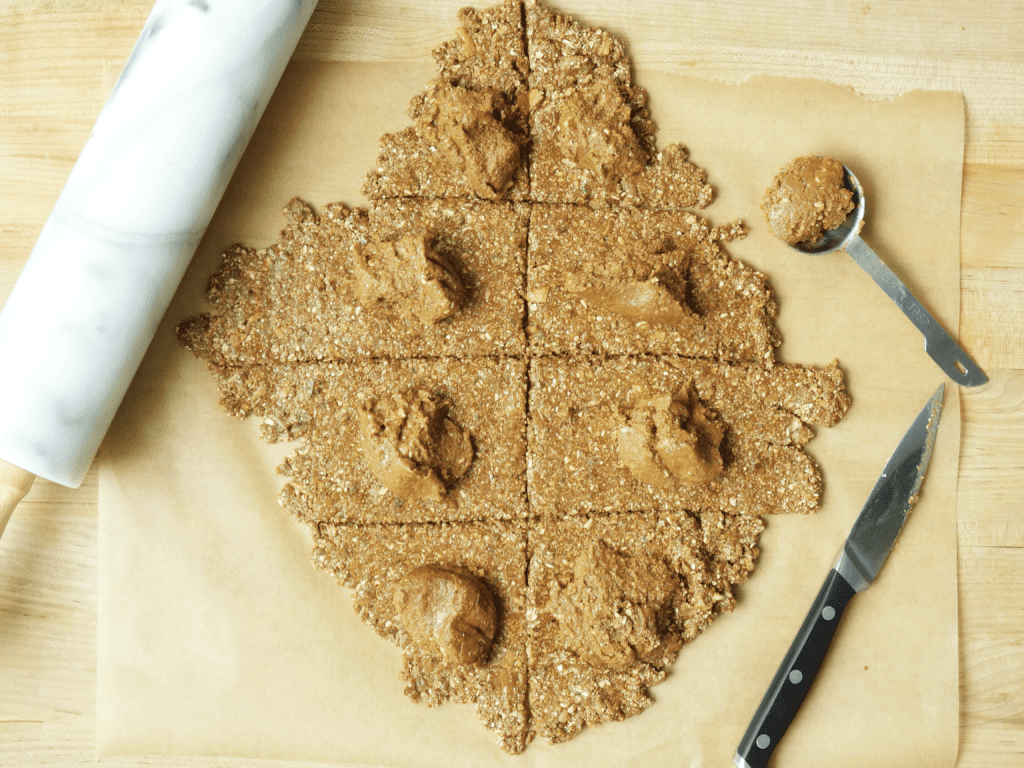
- Place another piece of parchment paper on top of the fig mixture and use a rolling pin to flatten it out forming an oval.
- Slice into 6 – 8 rectangles (don’t worry that the outer edges are rounded, as it won’t matter when you roll them up.).
- Spread 1 tablespoon of the almond butter filling onto the middle of each rectangle.
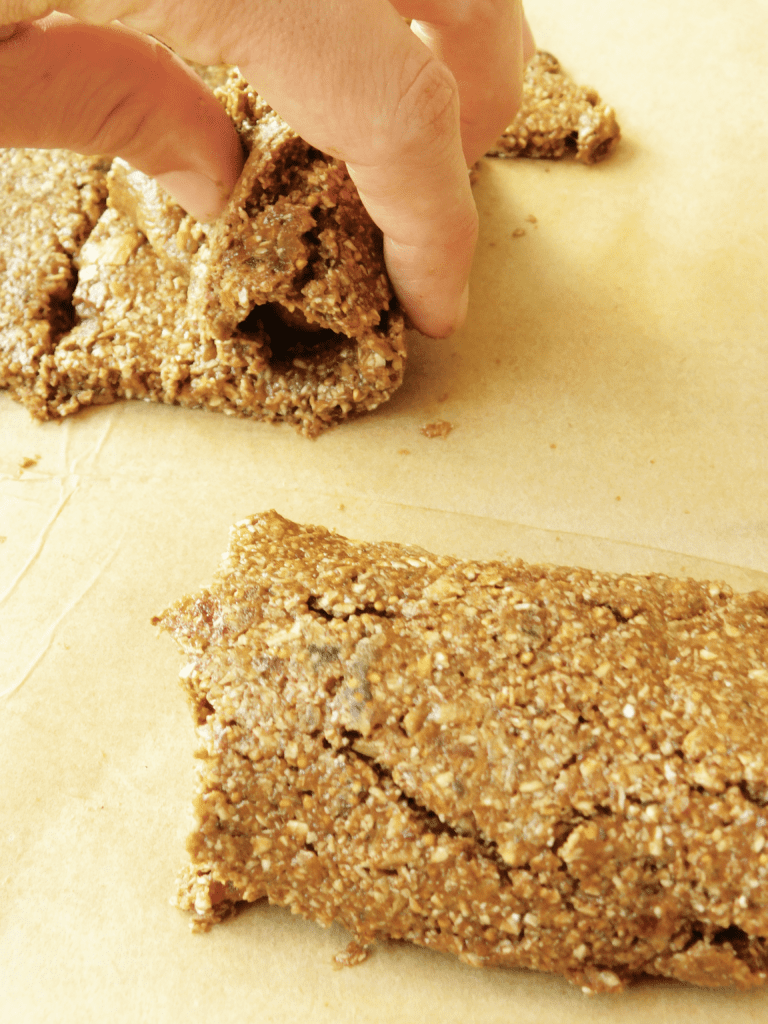
- Roll each rectangle piece around the almond butter filling (I use a spoon to help me pry up the crust and finish rolling with my hands).
- Transfer the bottom piece of parchment paper with the bars onto a baking sheet and cook in the oven for 12 minutes.
